


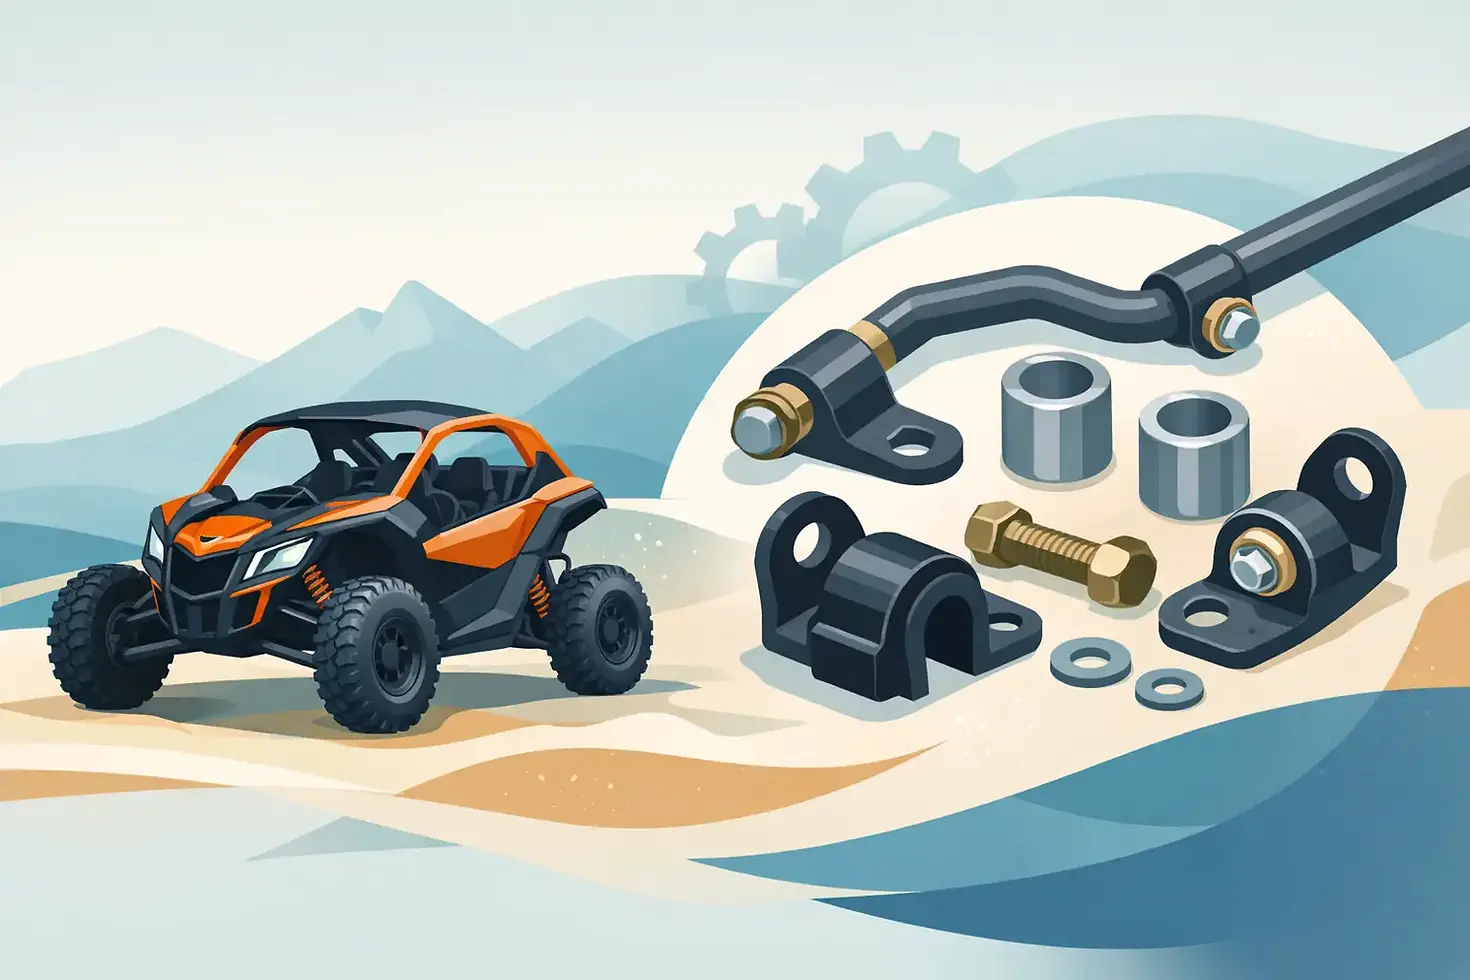
Can-Am Maverick X3 Sway Bar Bracket Kit Guide

The front end of an X3 sees a violent life. Deep whoops, side-loaded turns, chopped desert, and hard dune transitions all work the sway bar, bushings, and mounting points long after the tires have left the smooth stuff. A Can-Am Maverick X3 sway bar bracket kit is a targeted upgrade for riders who are tired of loose hardware, worn bushings, shifting mounts, and the vague front-end feel that comes with them.
This is not a flashy add-on meant to collect likes in the parking lot. It is hardware for keeping a critical suspension-support component where it belongs when the ride gets rough. If your Maverick X3 is built to be driven instead of polished, the right bracket kit is cheap insurance against a small mounting issue turning into a bigger repair.
What a Can-Am Maverick X3 Sway Bar Bracket Kit Does
The sway bar connects the left and right sides of the suspension. As the machine leans in a corner, the bar resists some of that body roll and helps the chassis stay more controlled. The bushings allow the bar to rotate while the brackets hold those bushings firmly to the chassis.
That sounds simple because it is. But the bracket and bushing assembly has a demanding job. It must retain the sway bar without allowing the bushings to walk, split, crush, or develop excess movement under repeated suspension cycles. When that retention gets sloppy, the bar cannot do its job as consistently.
A quality kit replaces weak or tired mounting hardware with vehicle-specific brackets and matched bushings designed around the X3 chassis. The goal is a secure mount, controlled bushing fitment, and hardware that can handle heat, vibration, mud, sand, and repeated impacts without becoming the weak link.
For many owners, the payoff is not a dramatic transformation on the first slow lap. It is the confidence that the front end stays composed after a full day of hard miles. That matters when the terrain gets fast, the machine is loaded with accessories, or the driver is carrying real speed through rough corners.
Why the Factory Mount Can Become a Problem
Factory parts are built around cost, production volume, and a wide range of expected use. That does not make them junk. It does mean an OEM mounting setup may eventually show its limits when a high-horsepower X3 spends its weekends hammering dunes, desert trails, or rocky washes.
Bushing wear is usually the first part of the story. Dirt and moisture can work into the assembly, heat can accelerate material fatigue, and constant motion can create clearance where there was once a tight fit. Once the bushing no longer supports the bar correctly, the bracket is forced to deal with more movement than it should.
Watch for squeaks, clunks, visible bushing damage, shifted bar position, loose fasteners, or witness marks around the mounting area. None of those signs should be ignored just because the machine still drives. A loose sway bar mount can create noise and inconsistent handling, but it can also keep beating up the surrounding components.
Hard-riding X3 owners often discover the issue while doing another job in the same area. That is the right time to inspect everything. Check the bushings, brackets, fasteners, sway bar links, and nearby chassis mounting surfaces. Off-road problems like to travel in packs.
Choosing the Right Bracket Kit for Your X3
Fitment is the first filter. Can-Am Maverick X3 platforms have variations by year, trim, suspension configuration, and aftermarket equipment. Never buy a bracket kit because it looks close in a photo. Confirm the exact model application and verify whether your machine has changes that affect the sway bar area.
The next question is how you ride. A casual trail machine that sees occasional rough terrain may simply need fresh, secure mounting hardware. A desert or dune build with power upgrades, aggressive tires, added cargo, and a driver who treats every transition like a launch ramp needs more confidence from the mount.
Look for a kit with these practical traits:
Vehicle-specific bracket geometry that seats correctly on the X3 chassis
Bushings matched to the intended sway bar diameter and bracket design
Durable corrosion-resistant finishing for wet, dusty, and high-heat conditions
Quality hardware and a clear installation process
Material and finish matter because this part lives directly in the blast zone. Sand is abrasive. Mud holds moisture. Desert heat cooks everything. A properly finished bracket is not just a cosmetic flex. It helps the part hold up while keeping the build looking intentional instead of pieced together from whatever was on the shelf.
Evotech Motorsports approaches this kind of hardware the way it should be approached: purpose-built for the vehicle, made in the USA, and finished to survive the abuse that comes with actual off-road use. A well-engineered bracket should install cleanly, hold the bushings securely, and stop asking for attention every other ride.
Install the Sway Bar Bracket Kit Without Creating New Problems
A bracket kit is a manageable garage project for an experienced X3 owner, but do not confuse manageable with careless. Put the machine on level ground, safely support it as needed, and make sure the suspension is not hanging in a way that loads the sway bar unexpectedly.
Before removing anything, inspect how the existing bar and bushings sit. If the bar has shifted to one side, note it. If there are worn spots, cracked bushings, damaged threads, or distorted mounting surfaces, address those conditions before bolting shiny new parts over the problem.
Remove the old brackets and bushings according to the kit instructions. Clean the mounting area thoroughly. Dirt trapped between a bracket and chassis surface can affect how the bracket seats, and old debris makes it harder to spot cracks or deformation. This is also the time to inspect the sway bar itself for excessive wear where it contacts the bushings.
Install the new bushings and brackets in the specified orientation. Do not force a component that does not appear to line up. Stop and verify fitment, bushing placement, bar centering, and whether an accessory or previous modification is interfering. The fastest way to turn a simple install into a headache is to tighten hardware against misaligned parts.
Use the torque values supplied with the kit or the applicable factory service information. Guessing at torque is not a strategy. Under-tightened hardware can loosen and wear the mount. Over-tightened hardware can damage threads, distort components, or make later service more difficult.
After installation, cycle the suspension if possible and check for clearance throughout travel. Turn the steering lock-to-lock, inspect nearby lines and wiring, and make sure nothing contacts the brackets or sway bar. Then perform a short, controlled test ride before heading straight to the roughest section of the desert.
What to Expect After the Upgrade
A properly installed kit should make the sway bar mounting system feel secure, not magical. It will not fix bad shocks, worn ball joints, damaged sway bar links, poor alignment, or a chassis issue. It is one piece of the handling system, and it needs the surrounding components to be in good condition.
What it can do is remove unwanted movement at the bar mount and help the sway bar operate as intended. That can mean fewer noises, less bushing migration, and more consistent front-end behavior when the machine is being pushed through corners and uneven terrain.
Check the hardware after the first ride and again after several hard outings. This is not paranoia. Freshly installed components can settle, especially after exposure to heat cycles and vibration. A quick inspection takes minutes and can prevent a loose fastener from turning into a ruined bracket, damaged chassis mount, or lost ride day.
Do Not Use a Bracket Kit as a Bandage
If your X3 has a bent sway bar, severely damaged mounting tabs, broken links, or obvious suspension damage, a bracket kit alone is not the answer. Fix the underlying issue first. The strongest bracket in the world cannot correct geometry that has already been bent out of shape.
The same goes for handling complaints caused by shock settings or tire pressure. Sway bar hardware supports the system, but it does not replace proper suspension setup. Riders who want maximum control should look at the whole machine: shock condition, springs, links, alignment, wheels, tires, and the way the vehicle is loaded.
Your Maverick X3 does not need fragile parts pretending to be upgrades. Give the sway bar a secure foundation, inspect it like the hard-use component it is, and spend the next ride worrying about the line ahead instead of the clunk under the front end.


Comments